Introduction
Client Device Profiles are used to manage the authentication and data details of LoRaWAN client devices. Client devices must be pre-configured on the X-ON platform before they can wirelessly authenticate and send/receive data. Before viewing the data coming from a stream, a Client Device Profile must first be created. During registration, client devices will be configured under an Application, which will be configured to export data using the Stream API in a number of different formats. The Stream feature is the API that allows for receiving and sending device data with external web-based applications. Client devices can only be registered under a single application.
Creating a Client Device Profile
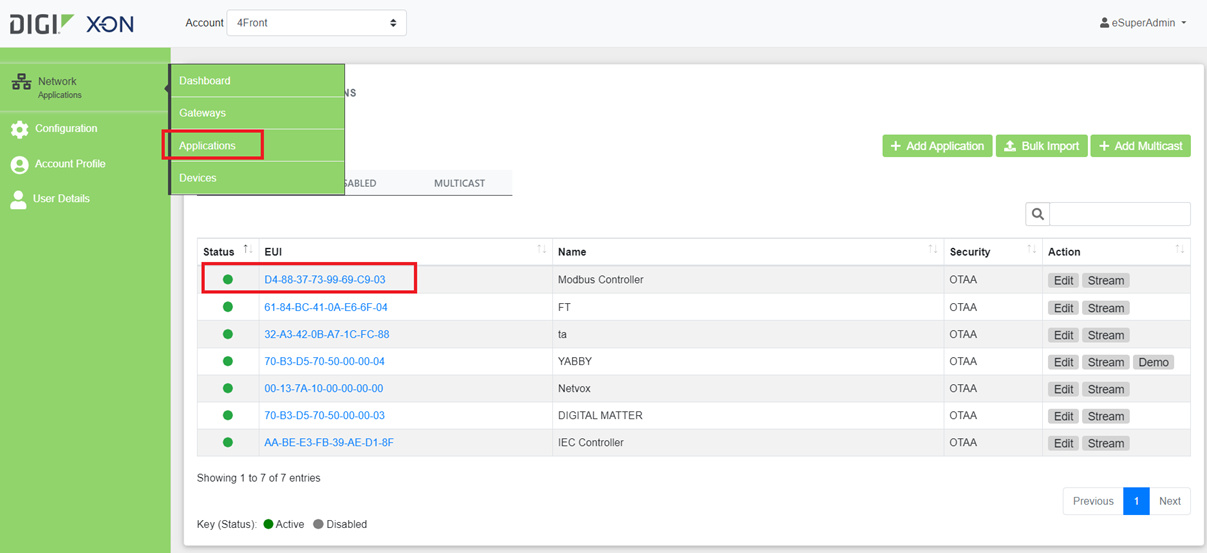
Figure 1: Selecting an Application Profile
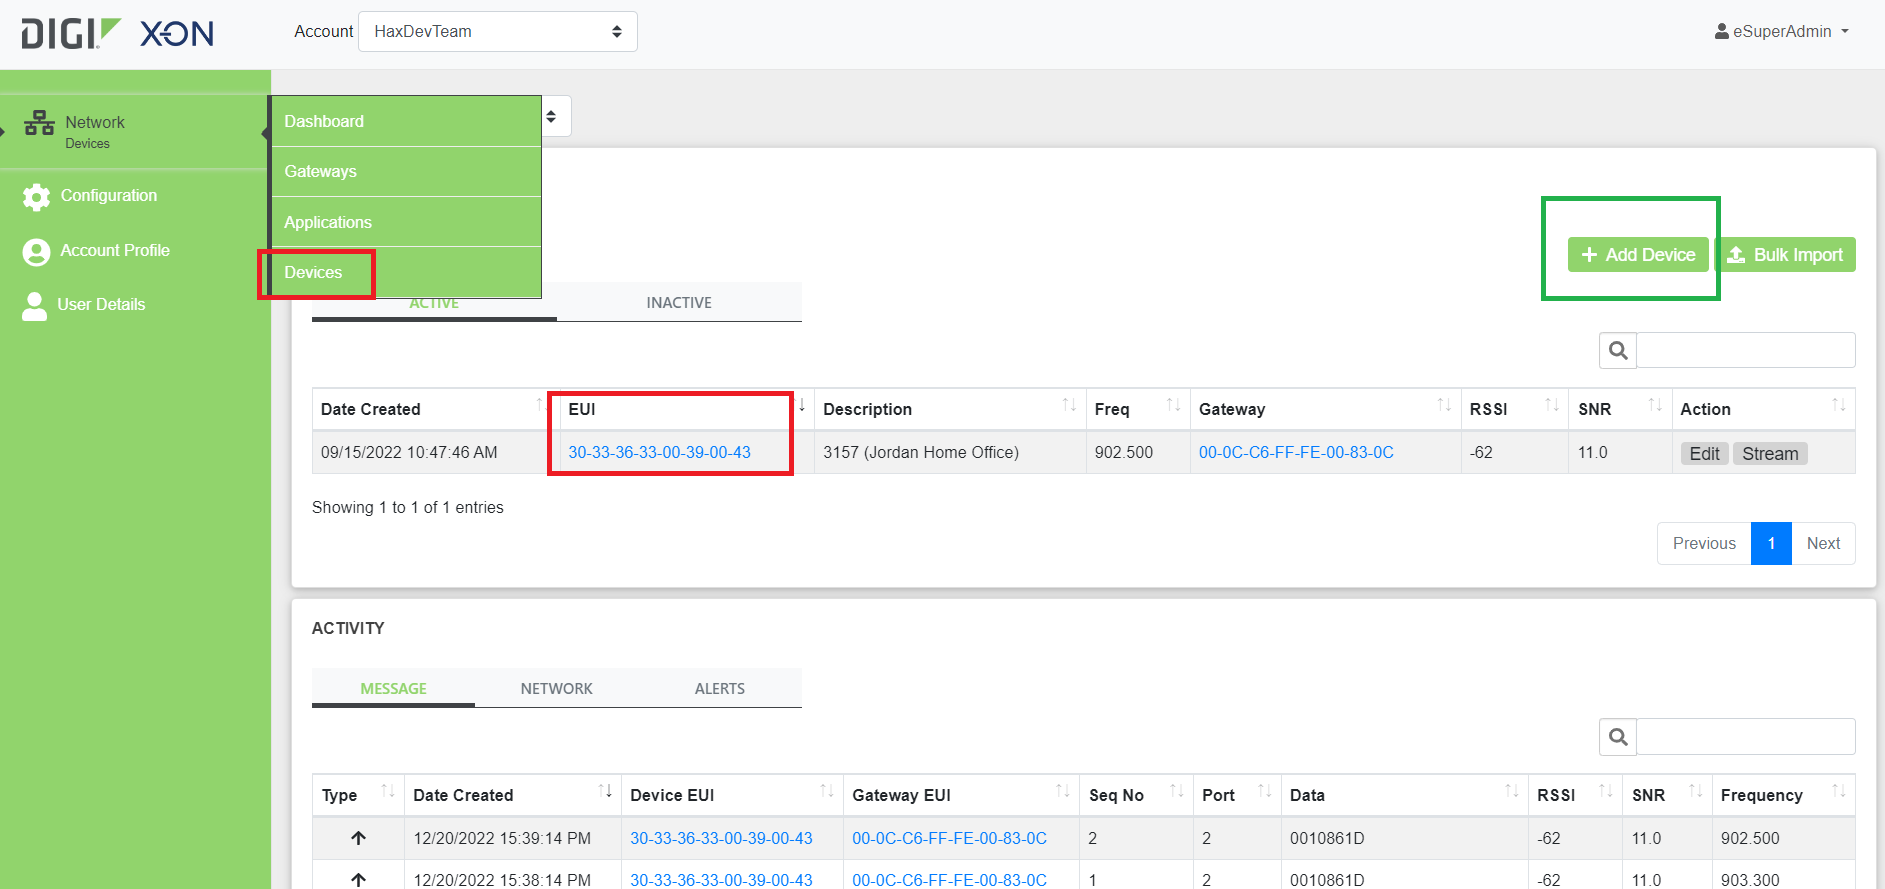
Figure 2: Adding a device to an application
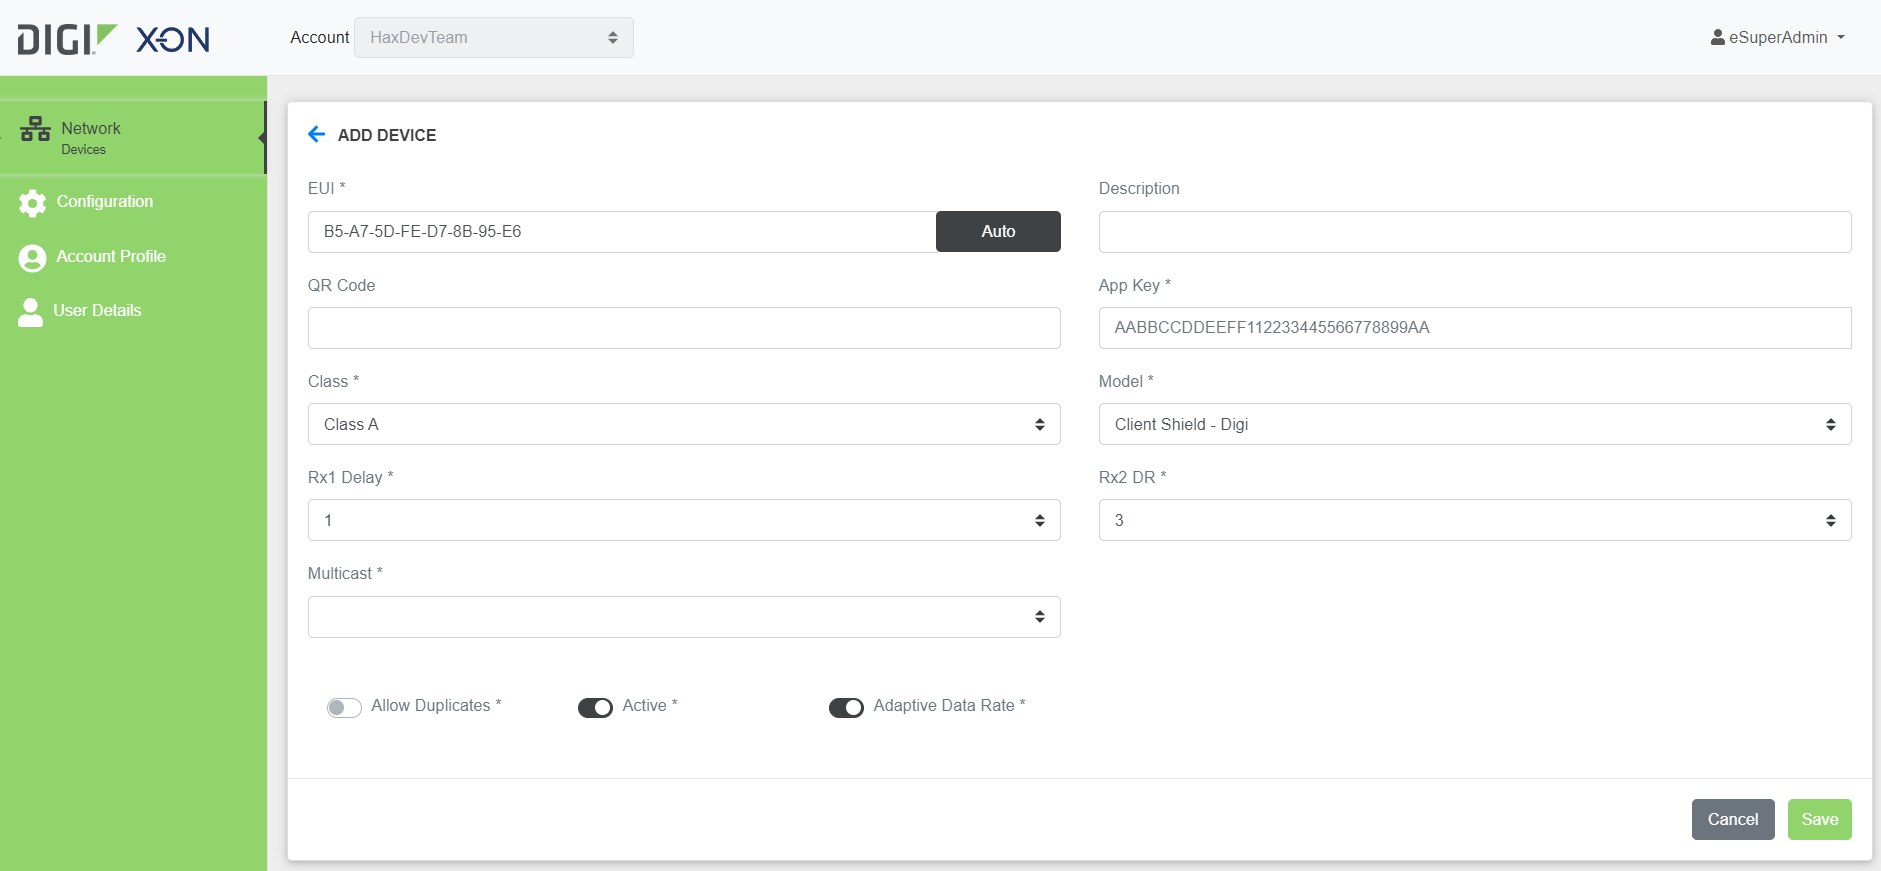
Figure 3: Creating a Client Device Profile
- From the Device tab in the Network module, select an Application profile that the client device will be registered under
- Select 'Add Device' from the Application-Device profile
- This will take you to the Client Device Profile creation page
- Fill out the following information
- EUI: Select a unique 16-digit hex value key
- AppKey: Select a unique 32-digit hex value key
- Description: Short description for the device
- Trace: Provides different levels for logging
- Note: For detailed logging, select Verbose
- Class: Class A or C
- Note: Most users select Class A as it provides the most efficient energy consumption
- Rx1 Delay: 1
- QR Code: Select a unique QR Code for the device.
- Rx2 DR: 3
- Active (Checked)
- Note: If the device is in use, keep the checkbox checked
- Select ‘Save’ to confirm the new Client Device
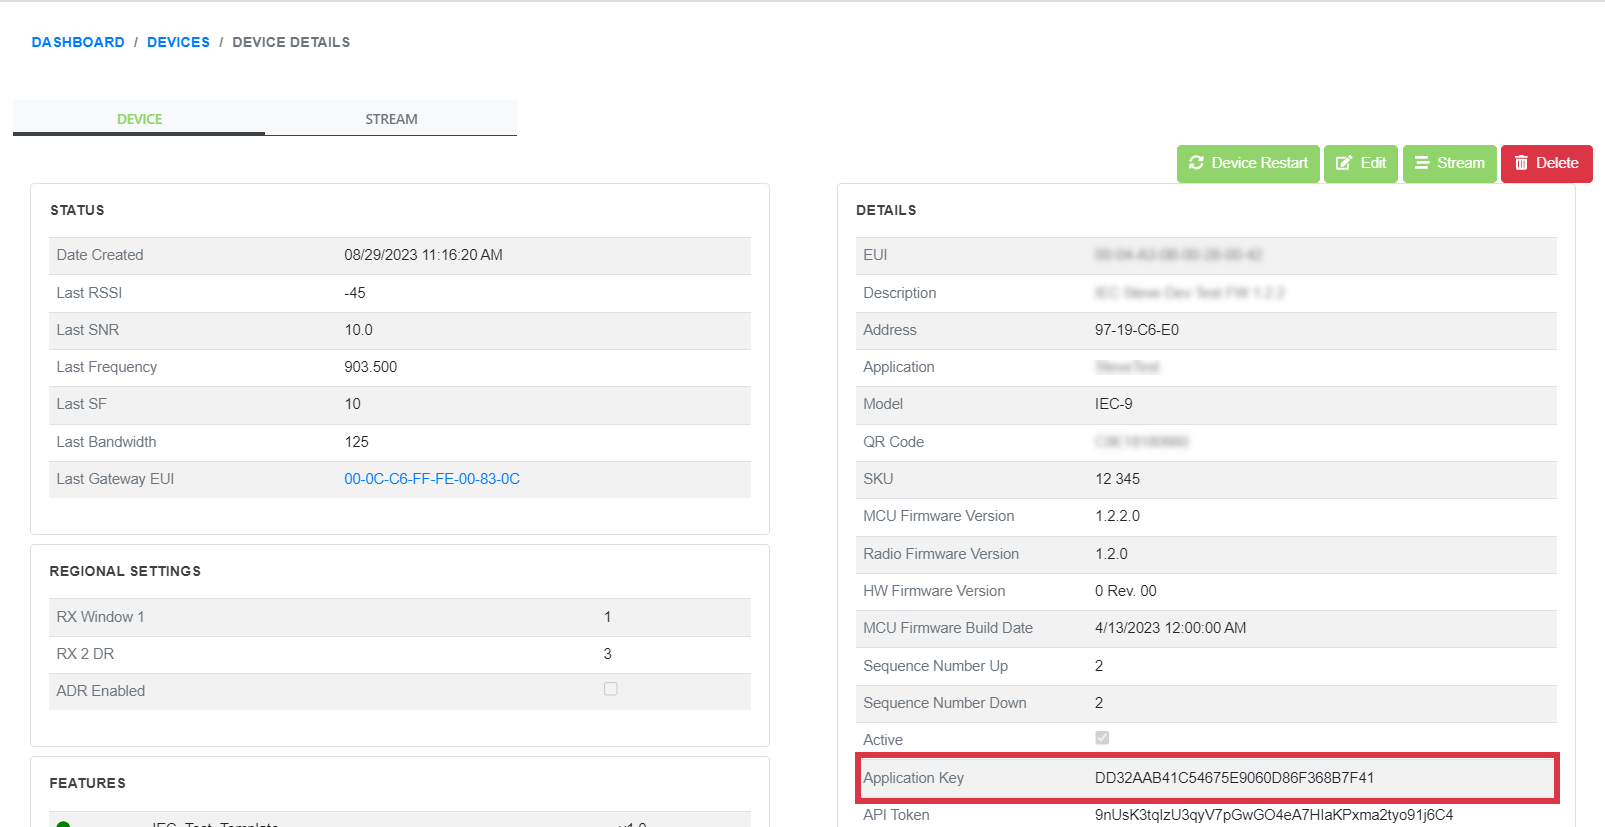
Figure 4: Viewing the new client device profile from the device page
Viewing a Client Device Profile
Details regarding a client device can be viewed from the Client Device's Profile page in the X-ON.
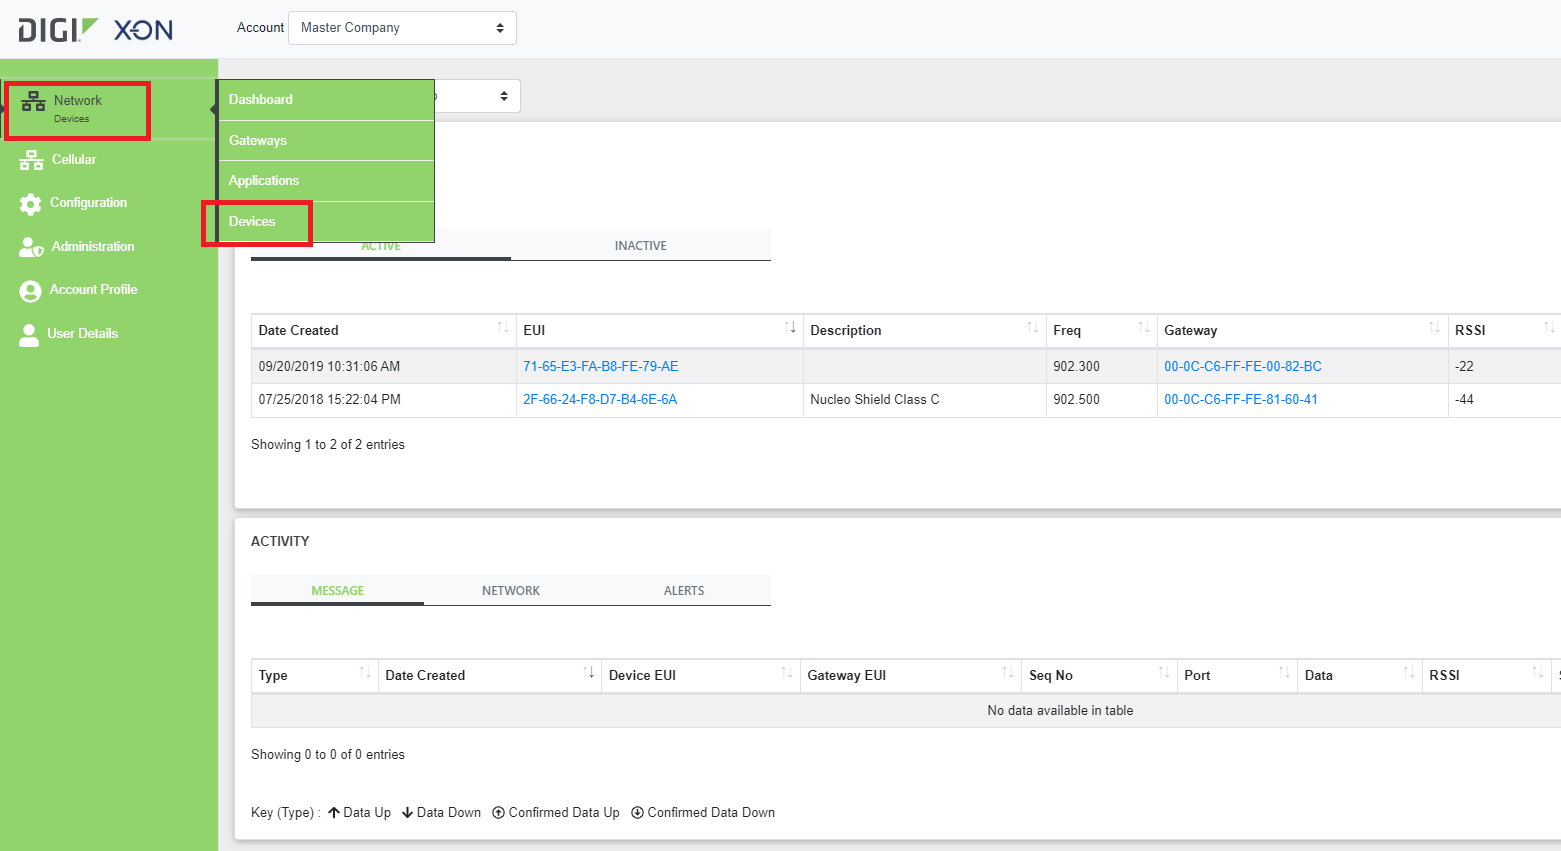
Figure 5: Select the Application profile that the client device profile is registered under
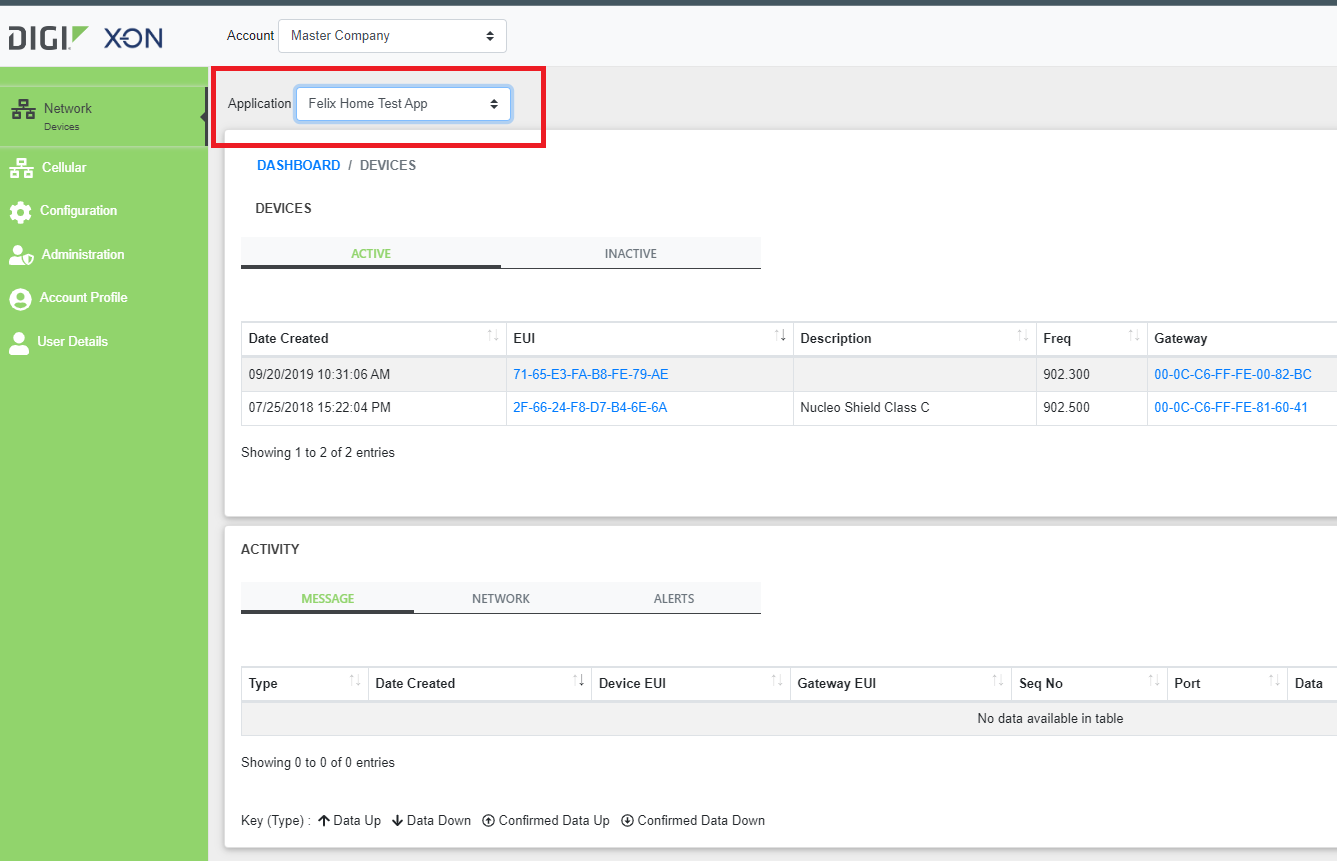
Figure 6: Select Client Device from the Device list
- Select the application in which the client device has been registered from the dropdown list on Application-Device Profile.
- Select the Dev EUI for the desired client device to view the Client Device Profile
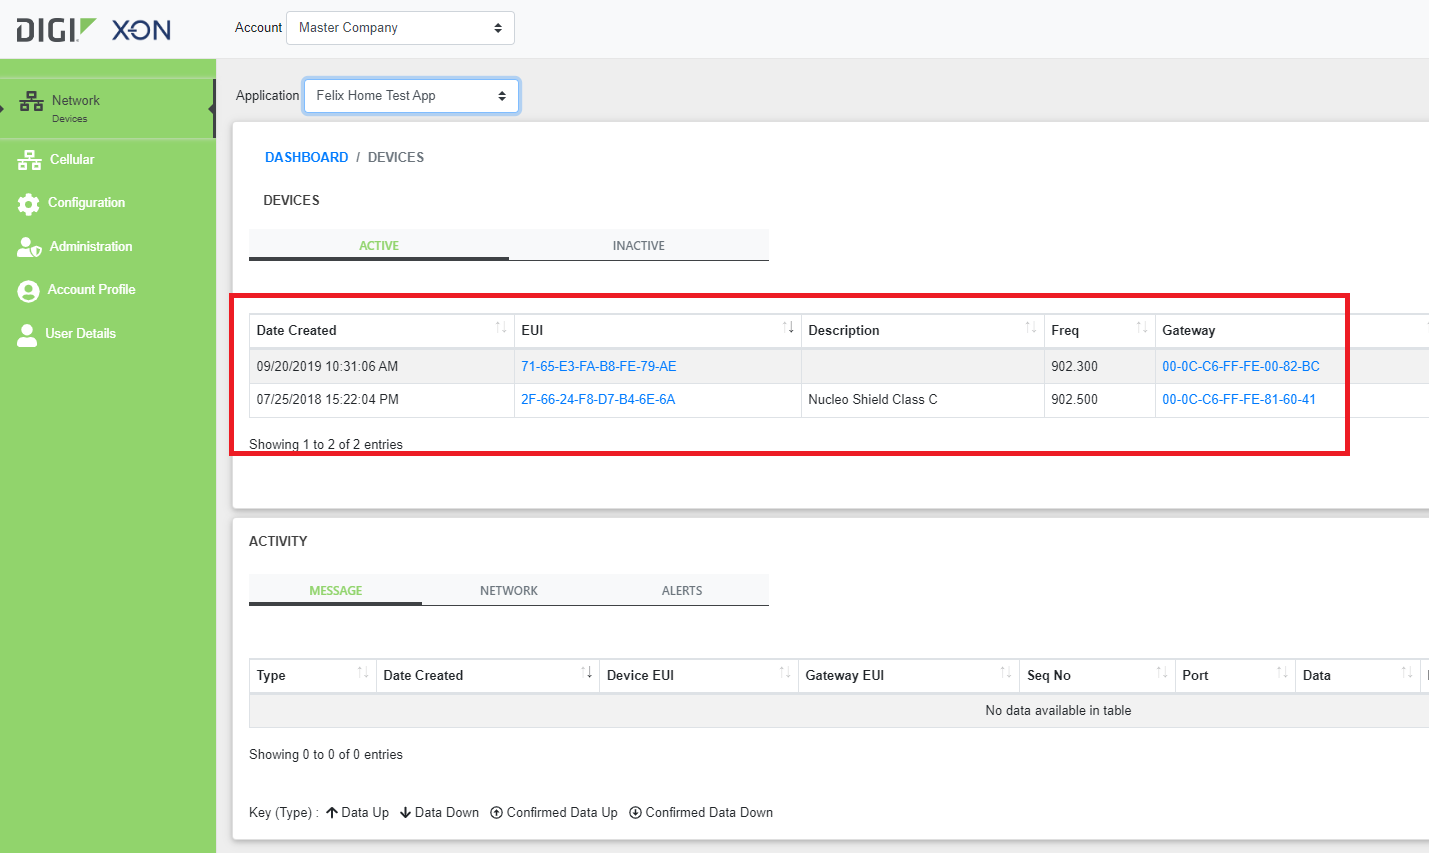
Figure 7: Client Device Profile
Editing a Client Device Profile
If changes to a client device need to be made, this can be done following way.
From the Client Device Profile page
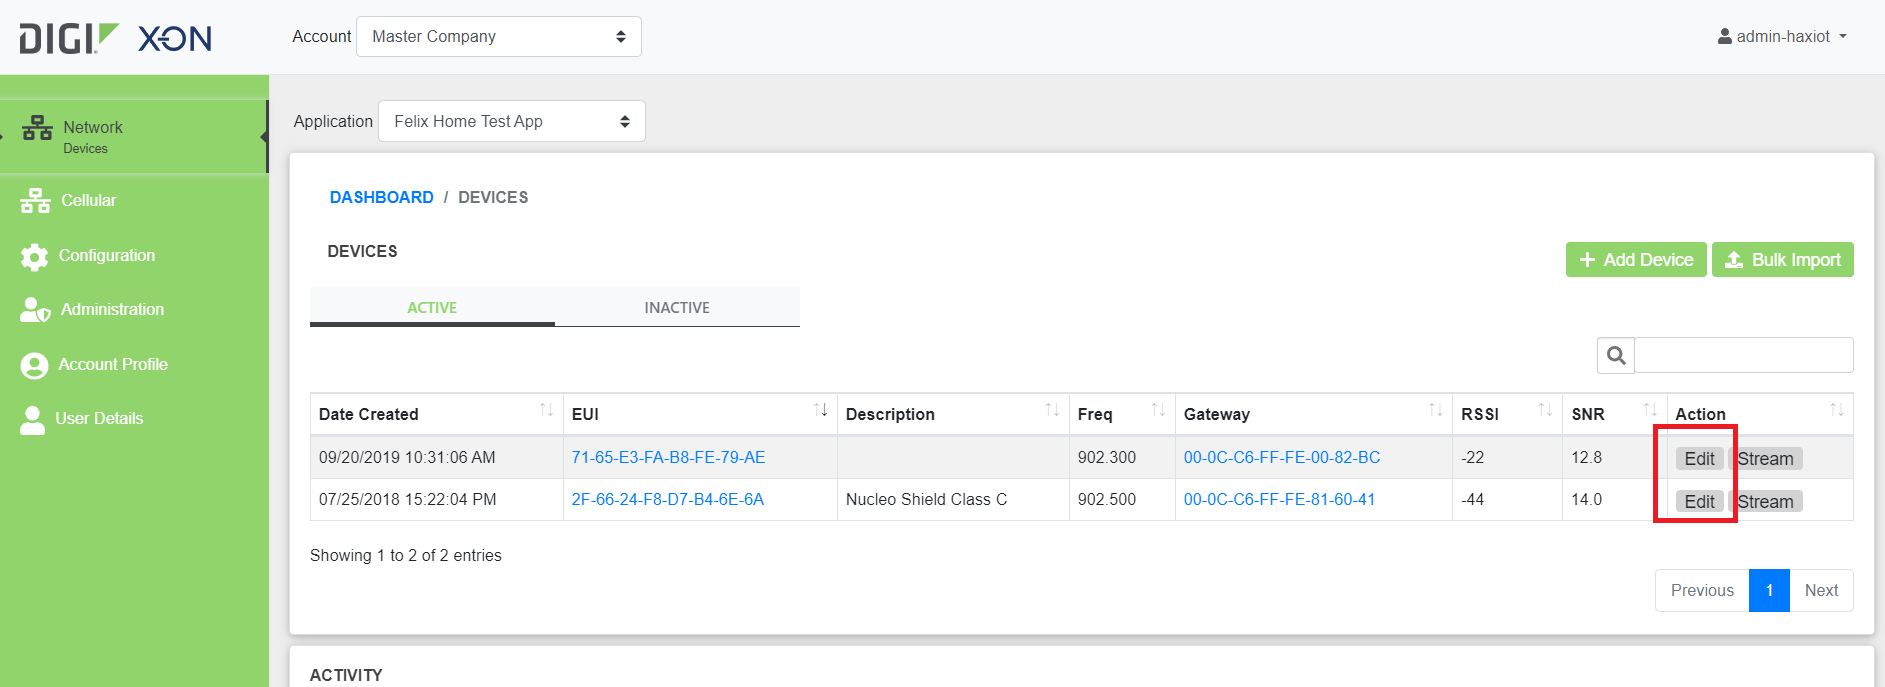
Figure 8: Editing Client Device from Client Device profile page
- From the Client Device profile page, select 'Edit'
- Edit the desired parameters
- Select 'Update' to submit changes to the client device profile
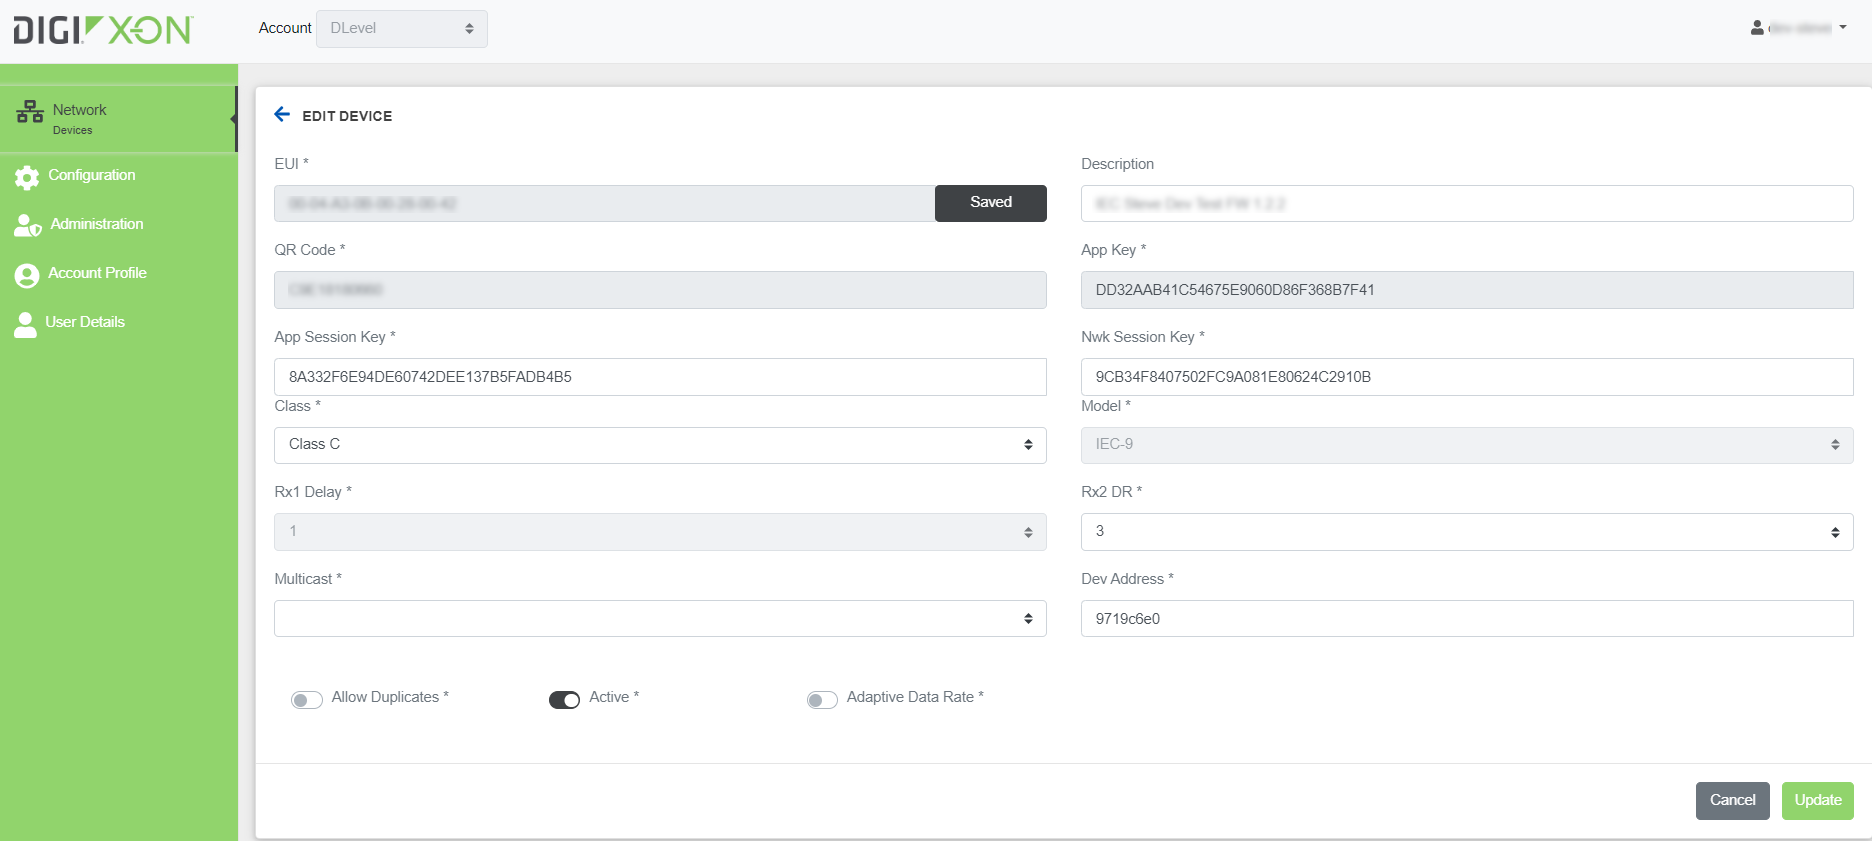
Figure 9: Updating Client Device Profile
Client Device Health Check
To check if the device is up, we send a message from the Device Profile page under Send Downlink Section. Enter Port= 05 and Hex Message =01, and click on 'Send Message'. If the device is up, it should respond to the downlink message.
Streams for a Client Device Profile
Haxiot provides different methods of transporting data to web applications. Streams provide a way to view and connect to data from client devices deployed in the field.
Creating a Stream
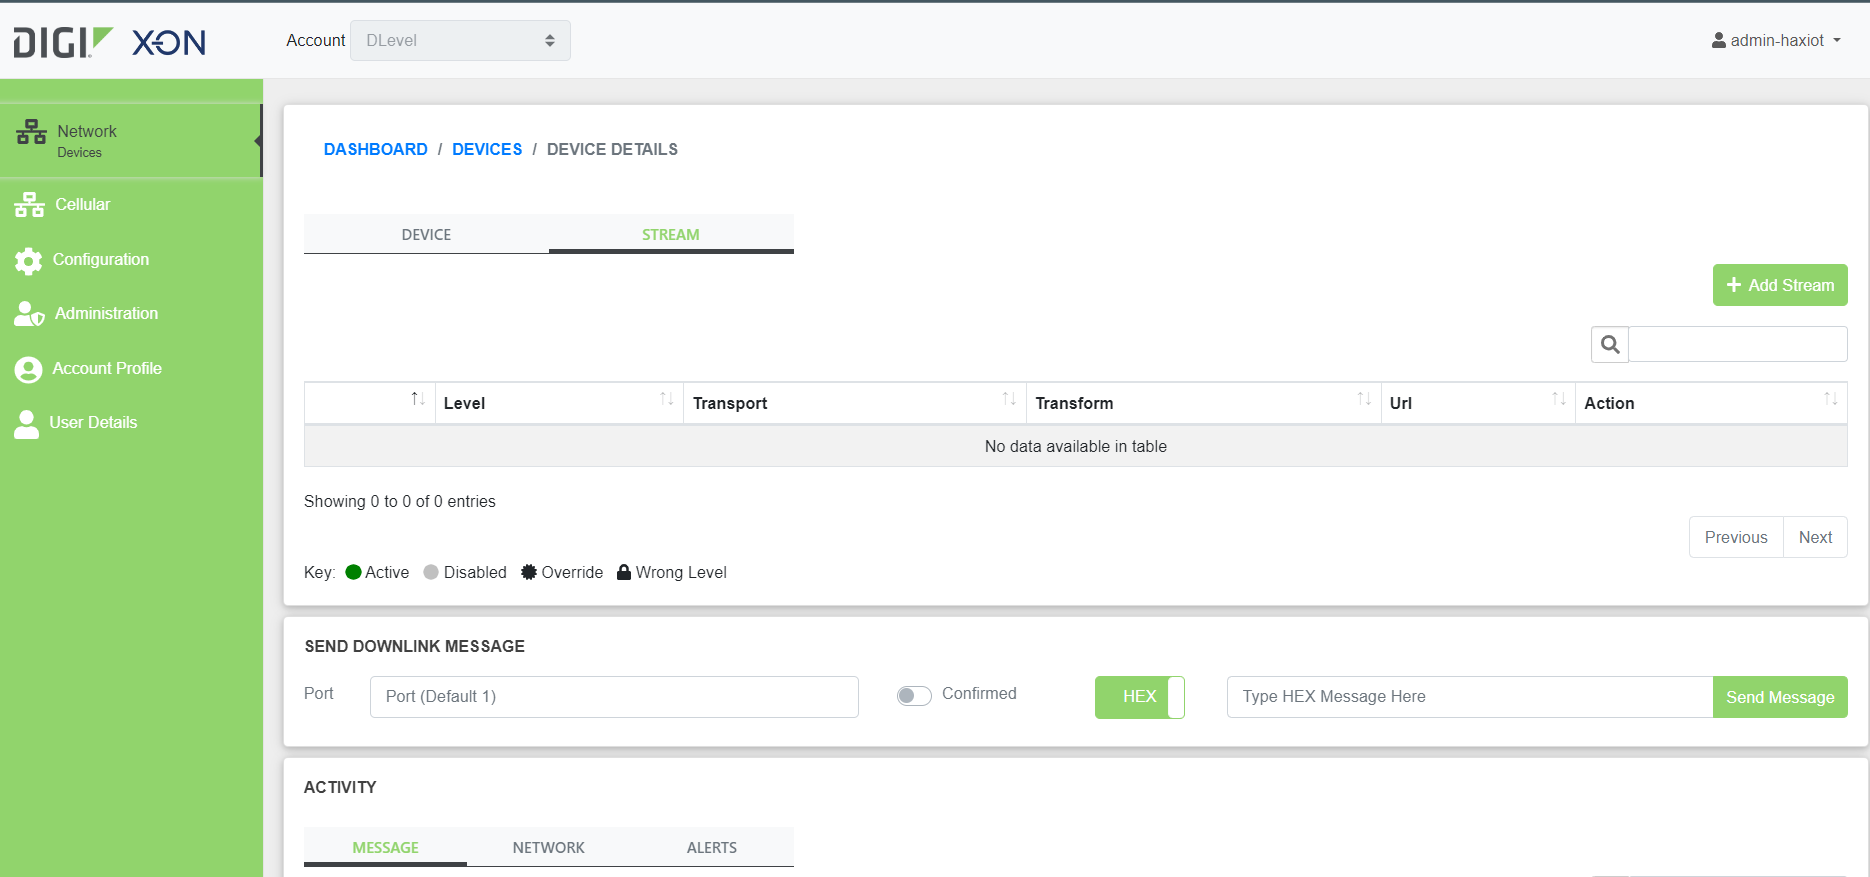
Figure 10: Stream tab from the Client Device Profile

Figure 11: Streams available for a client device
- From the Client Device profile, select the Stream tab
- Note: Lvl3 streams are typically application profile streams. Any Lvl3 streams found under a Client Device stream list will be the stream profile for the application in which the client device is registered under.
- Select 'Add Stream'
- Fill out the appropriate information
- Select appropriate Transport Provider
- For Transform provider, select 'Stream Transform'
- For the Output Format field, select 'Default JSON Transformation'
- Fill other fields appropriately.
- Select 'Save' to add a new stream profile

Figure 12: Creating a stream
Once complete, a new stream will be available from the list of streams.
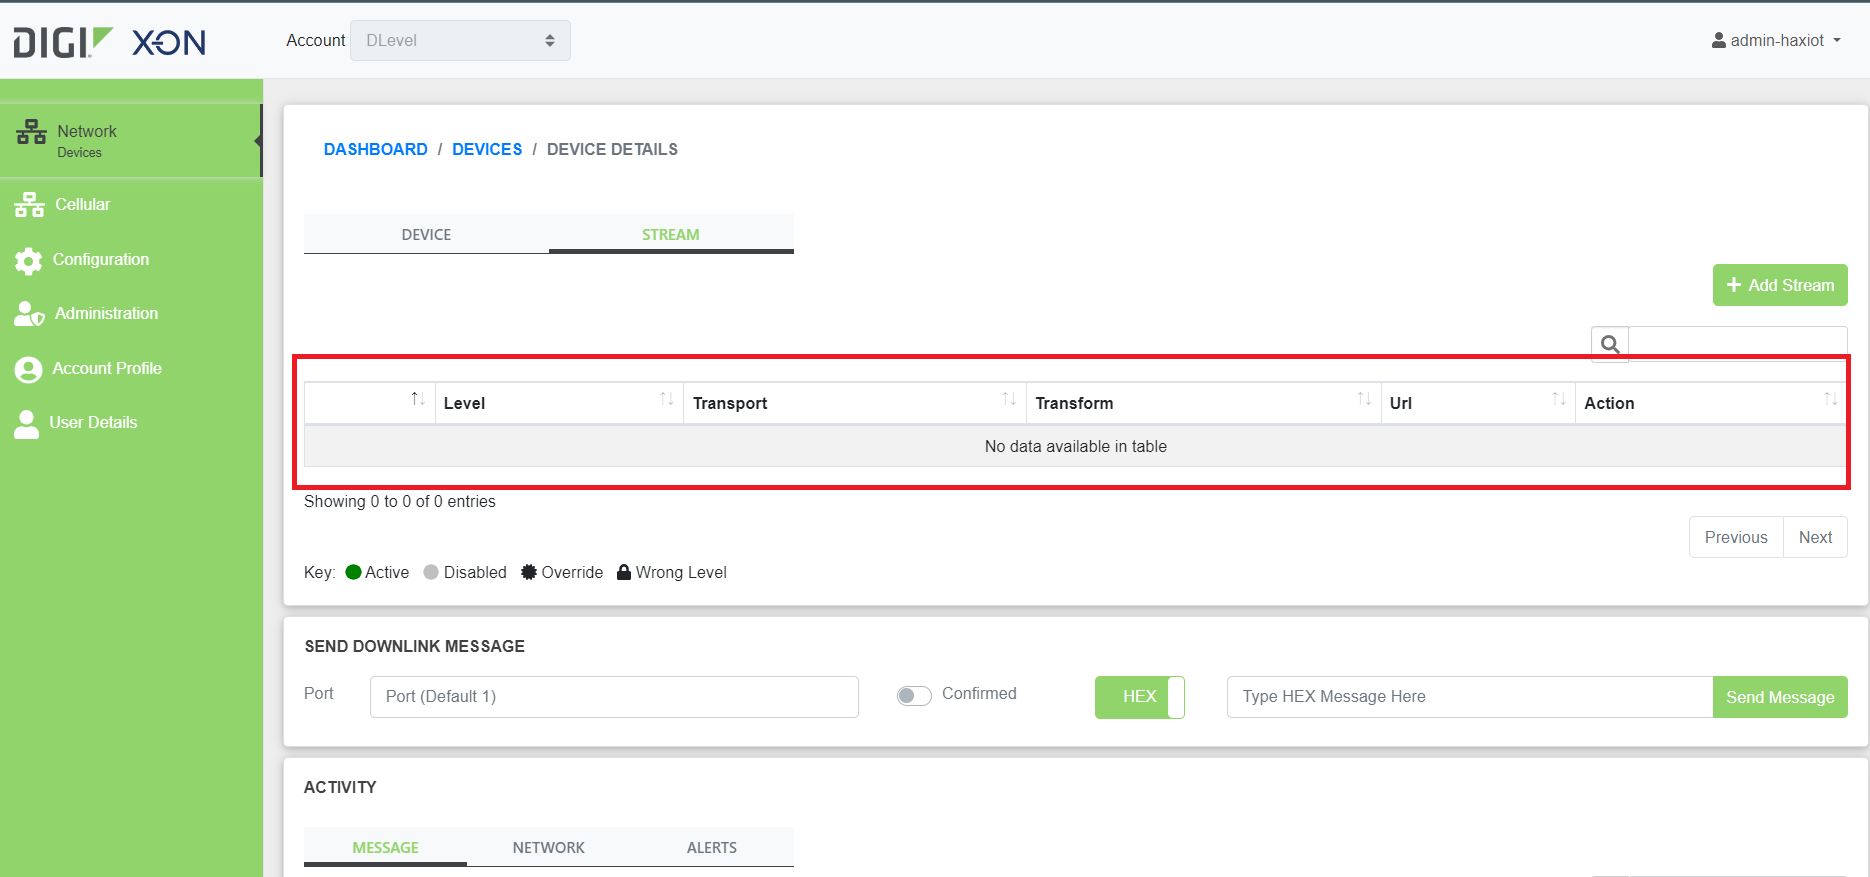
Figure 13: Device stream list
View Available Streams
Client Device profiles may have more than one stream available. To view a list of all available streams,
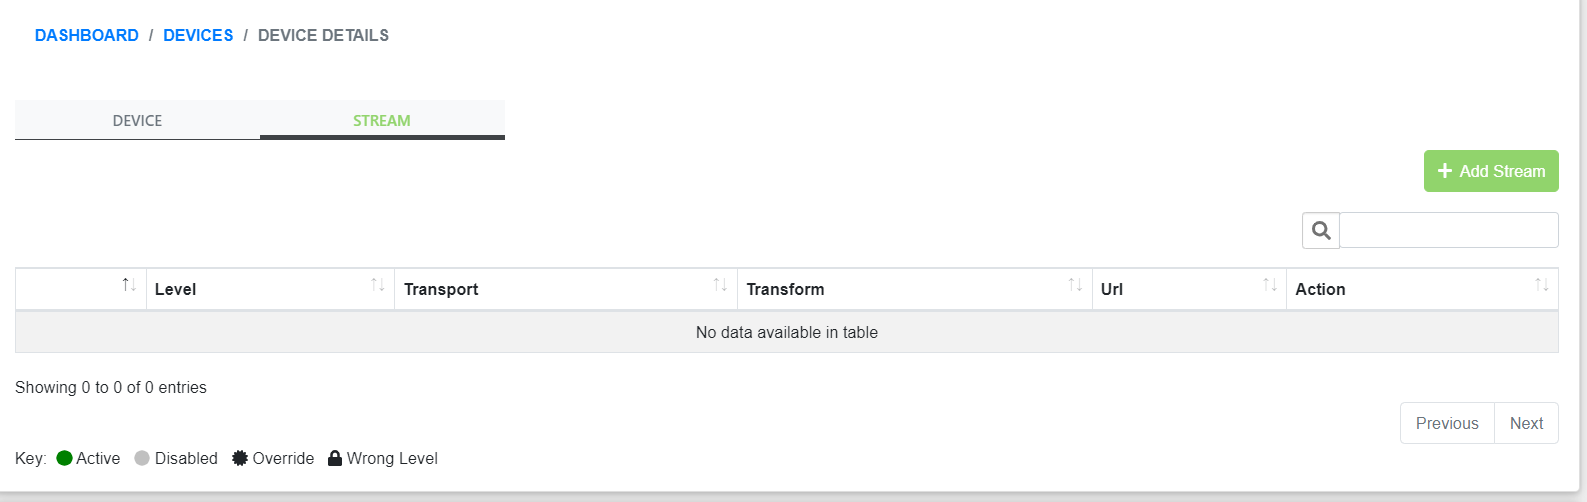
Figure 14: Stream tab from the Client Device Profile
- From the Client Device profile page, select the 'Stream' tab towards the top
- A list of available streams will be displayed
- Note: Level 4 streams represent application-level streams. This means that when viewing an Lvl4 stream, uplink and downlink packets will be viewable from those streams.

Figure 15: List of available streams
Editing Streams
Editing a stream can be done from the Stream's tab in the Client Device's Profile page.
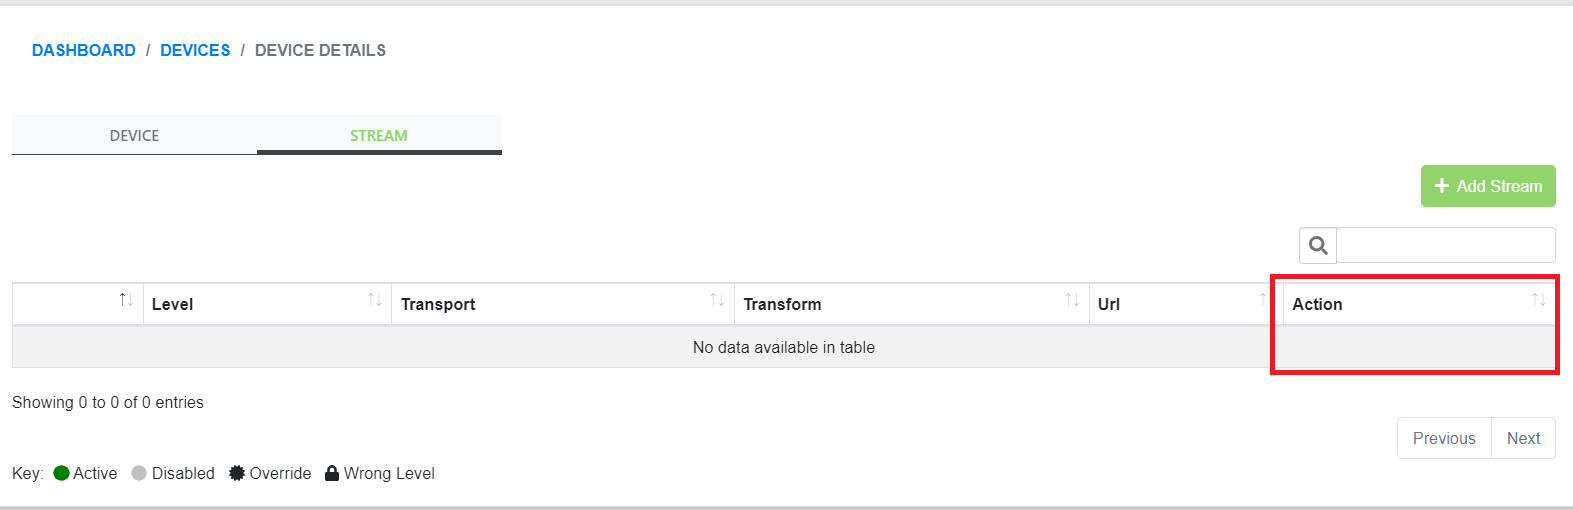
Figure 16: Editing a stream from the stream tab
- Select 'Edit' for the desired stream that will be edited
- If no ‘Edit’ option is available, click on ‘+’ to reveal extra options
- Edit the desired parameters
- Caution: Do not change the server and port parameters as these pertain to our server configuration
- Select 'Save' to submit changes to the stream profile

Figure 17: Editing a stream
Deleting Streams
Removing stream can be done from the Stream's tab in the Client Device's Profile page.

Figure 18: Deleting a stream from the stream tab
- Select 'Delete' for the desired stream that is to be removed
- Confirm by selecting 'OK' on the confirmation box
View Built-In Stream
You can view data for a client device from X-ON Cloud in Built-in Stream.
From the Application-Device Profile Page
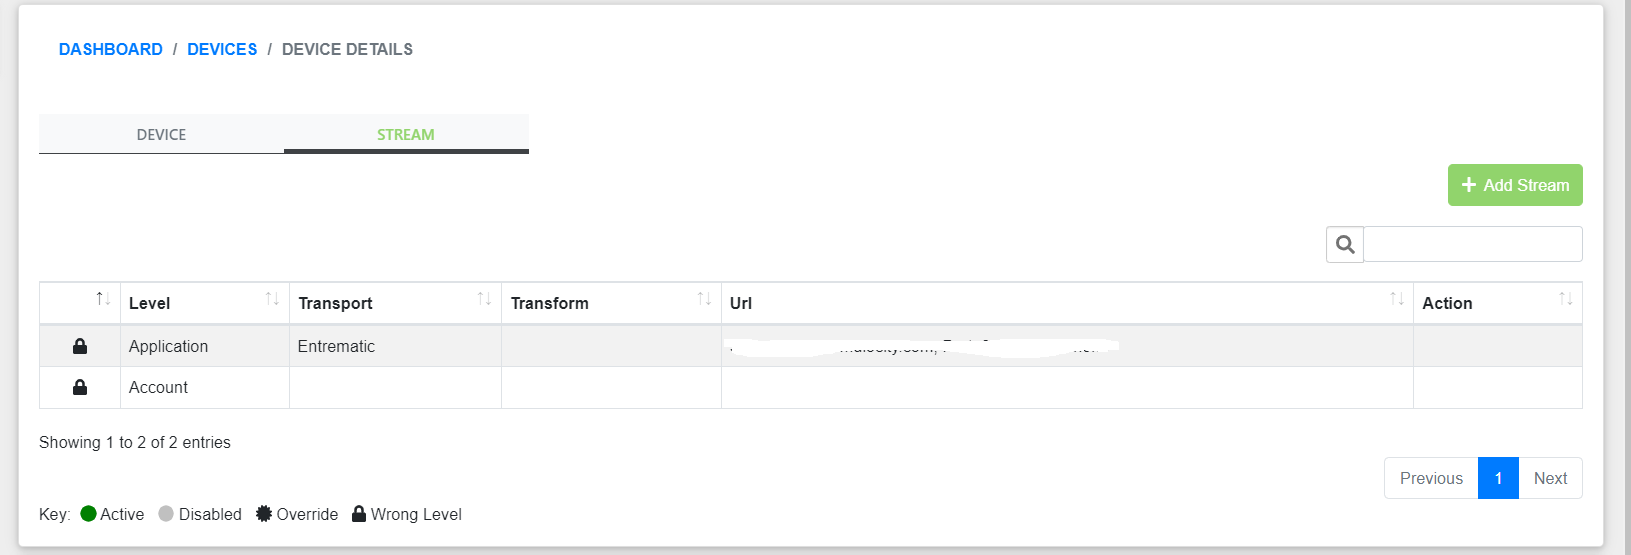
Figure 19: Opening client device built-in stream from an application-device profile
- From the Application- Device Profile page, select 'Stream' on the Client Device from the Client Device list
From the Client Device Profile Page

Figure 20: Opening client device built-in stream from the client device profile
- From the Client Device Profile page, select 'Stream'
- Data viewed from this page is the same data viewable from a device stream
Last updated:
Oct 29, 2023